Introduction
Microblading has become one of the most popular cosmetic tattooing techniques for enhancing and defining eyebrows. This semi-permanent procedure creates natural-looking, fuller brows through the application of fine, hair-like strokes that mimic the appearance of real eyebrow hairs. If you’re considering microblading to enhance your brows, it’s important to know what to expect from your session and how to prepare for the best results. In this article, we’ll guide you through the microblading process and provide tips on how to make the most of your experience.
What Is Microblading?
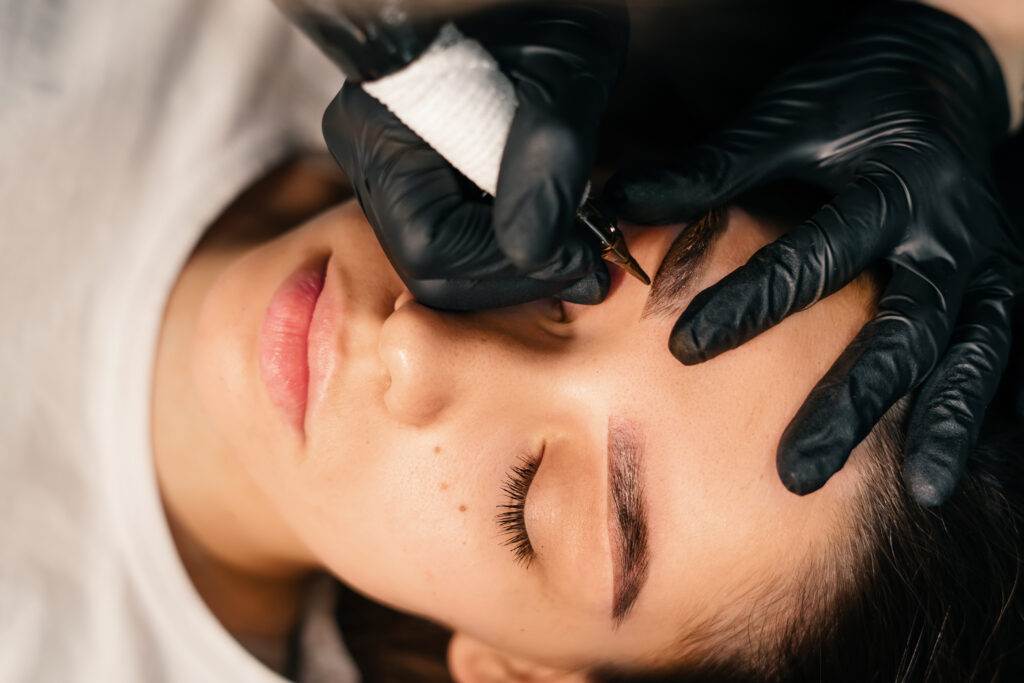
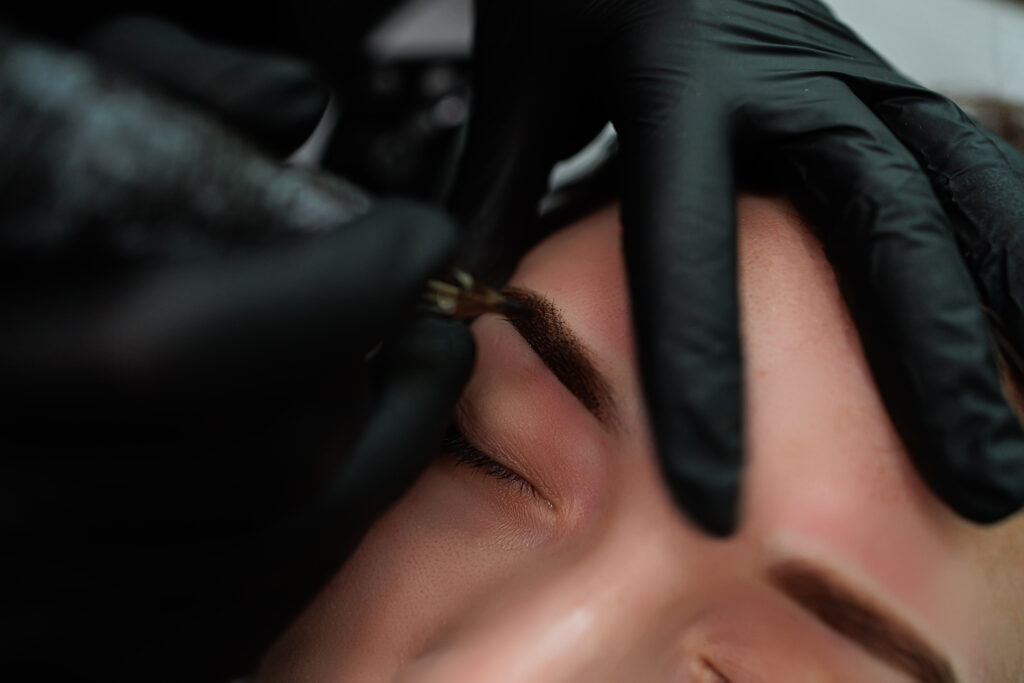
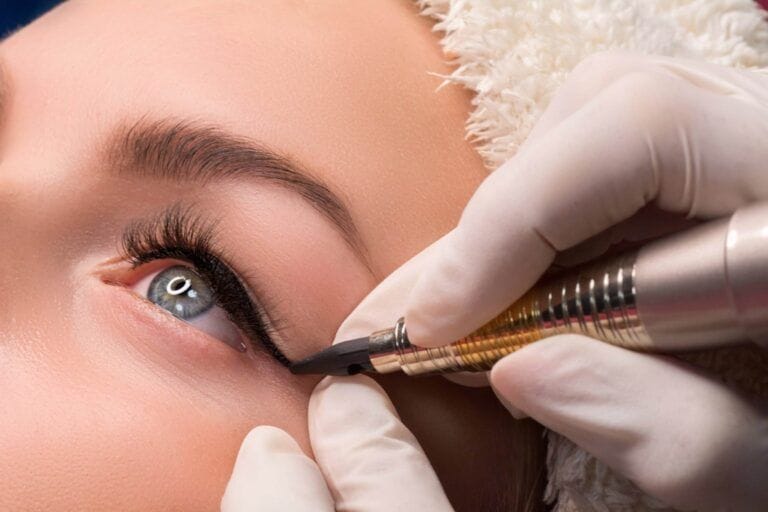
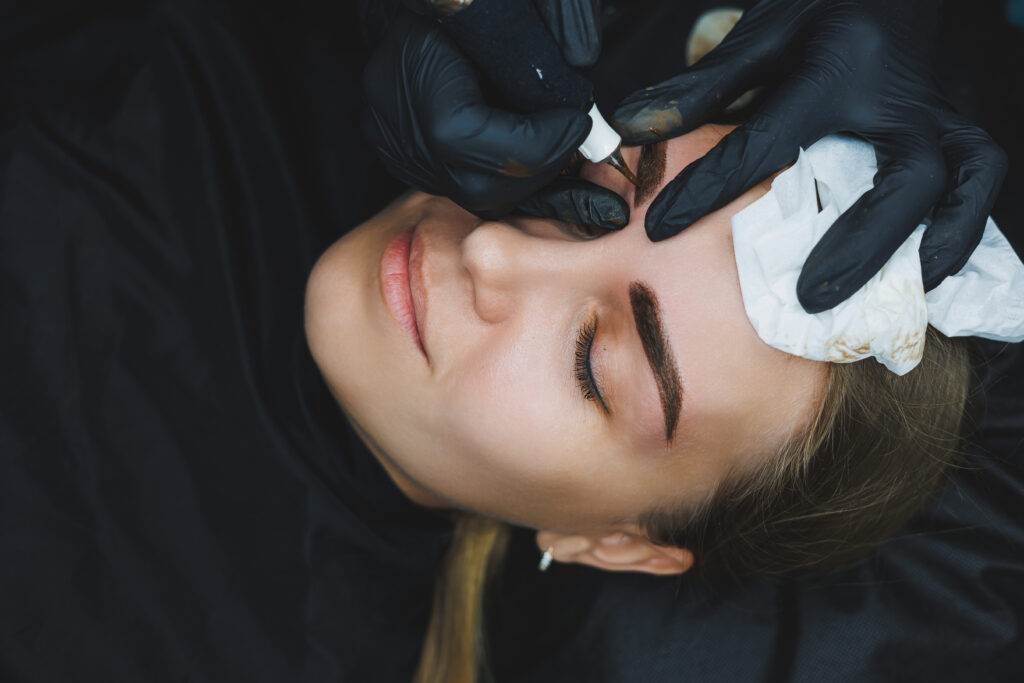
Microblading is a form of cosmetic tattooing designed specifically for the eyebrows. During the procedure, a skilled artist uses a fine blade to deposit pigment into the skin in precise, hair-like strokes. This technique is ideal for individuals with sparse, uneven, or thin brows, as it helps create the appearance of fuller, more defined eyebrows. The results are semi-permanent, meaning the pigment will gradually fade over time, typically lasting between 1 to 2 years before requiring a touch-up.
Why Choose Microblading for Your Brows?
There are several reasons why microblading is a popular choice for those looking to enhance their eyebrows:
1. Natural-Looking Results: Microblading is designed to mimic the appearance of real eyebrow hairs, resulting in a natural look that blends seamlessly with your existing brow hairs.
2. Saves Time: Microblading eliminates the need for daily brow makeup application, saving you time in your beauty routine. With perfectly shaped brows already in place, you can wake up ready to go.
3. Customizable: The shape, thickness, and color of your microbladed brows can be customized to suit your preferences and facial features. A skilled artist like Amy Alfaro at Dark Heart Ink will work with you to create a look that complements your unique style.
4. Long-Lasting: While microblading is not permanent, the results typically last for 1 to 2 years with proper care. This makes it a low-maintenance solution for those looking to enhance their brows without the need for daily makeup.
Preparing for Your Microblading Session
To ensure the best results from your microblading session, it’s essential to prepare your skin in the days leading up to the procedure. Here are some tips on how to prepare:
1. Avoid Blood Thinners: In the 48 hours leading up to your session, avoid taking blood-thinning medications such as aspirin and ibuprofen, as these can increase the risk of bleeding during the procedure.
2. Avoid Alcohol and Caffeine: Both alcohol and caffeine can thin the blood and make you more prone to bleeding during the procedure. It’s best to avoid these substances for at least 24 hours before your appointment.
3. Skip Skincare Treatments: Avoid chemical peels, microdermabrasion, or any other intensive skincare treatments in the two weeks leading up to your appointment. These treatments can leave your skin sensitive and may interfere with the microblading process.
4. Moisturize Your Skin: In the days leading up to your appointment, keep your skin hydrated by applying a gentle, fragrance-free moisturizer. However, avoid applying any products directly to your brows on the day of the procedure.
What to Expect During Your Microblading Session
Microblading is a relatively simple and straightforward procedure, but knowing what to expect can help ease any anxiety you may have. Here’s a step-by-step guide to what happens during a typical microblading session:
- Step 1: Consultation and Brow Mapping
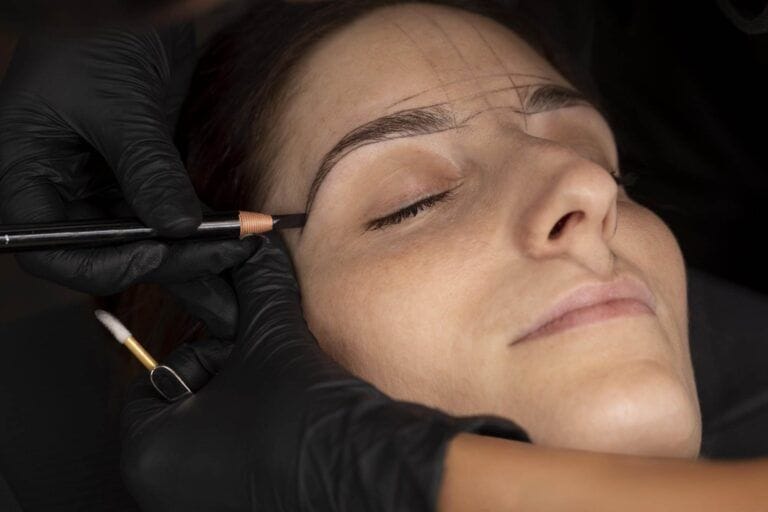
- Your microblading session will begin with a consultation where your artist will discuss your desired brow shape and color. The artist will then use a process called brow mapping to outline the ideal shape for your brows, taking into consideration your facial features, natural brow line, and personal preferences.
- Step 2: Numbing the Area
- Before the microblading process begins, a topical numbing cream will be applied to your brows to minimize any discomfort during the procedure. While microblading is generally not very painful, the numbing cream helps ensure a comfortable experience.
- Step 3: Pigment Application
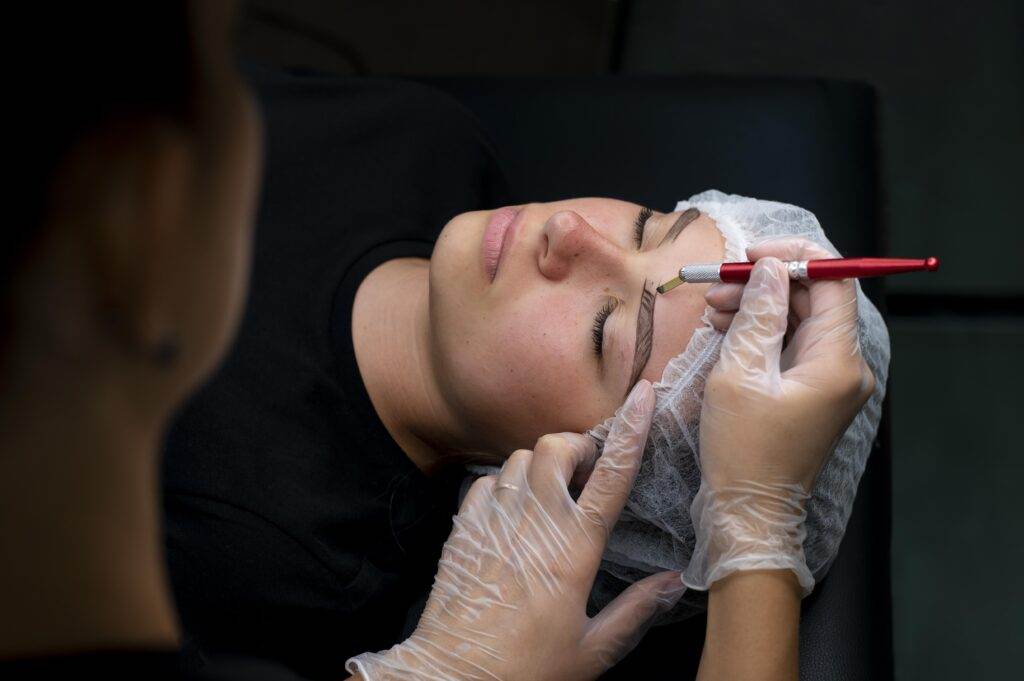
- Once the area is numb, the artist will use a fine blade to deposit pigment into the upper layers of your skin, creating hair-like strokes that mimic the appearance of real eyebrow hairs. The artist will work carefully to ensure that each stroke follows the natural direction of your brow hairs for a seamless, natural look. This process typically takes about 1-2 hours, depending on the complexity of the design.
- Step 4: Aftercare Instructions
- After the procedure, your artist will provide detailed aftercare instructions to ensure that your microbladed brows heal properly and retain their color. Following these instructions is critical to achieving the best results.
Aftercare Tips for Microblading
Proper aftercare is essential to ensure that your microblading results last as long as possible and heal smoothly. Here are some general aftercare tips to follow:
1. Avoid Water Exposure: For the first week after your microblading session, avoid getting your brows wet. This includes avoiding swimming, saunas, and excessive sweating. Water can interfere with the pigment’s ability to settle into the skin.
2. Apply Healing Ointment: Your artist will provide a healing ointment to apply to your brows to keep them moisturized and promote healing. Follow the recommended application schedule closely.
3. Avoid Makeup on the Brows: Refrain from applying makeup directly to your brows during the healing process. Makeup can introduce bacteria to the area and interfere with healing.
4. Do Not Pick or Scratch: As your brows heal, you may experience some flaking or scabbing. It’s important to avoid picking at the area, as this can cause pigment loss and uneven healing.
5. Protect from Sun Exposure: UV rays can cause the pigment to fade more quickly, so it’s essential to protect your brows from the sun. Wear a hat or use a high-SPF sunscreen on the area once it has healed.
What to Expect After Healing
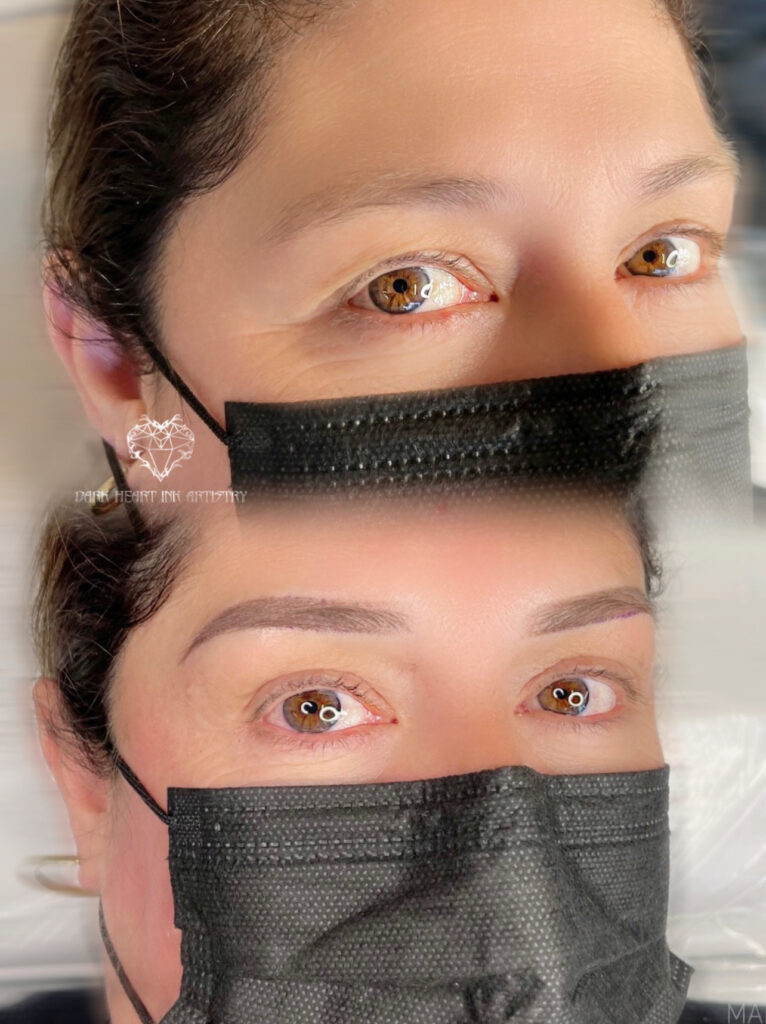
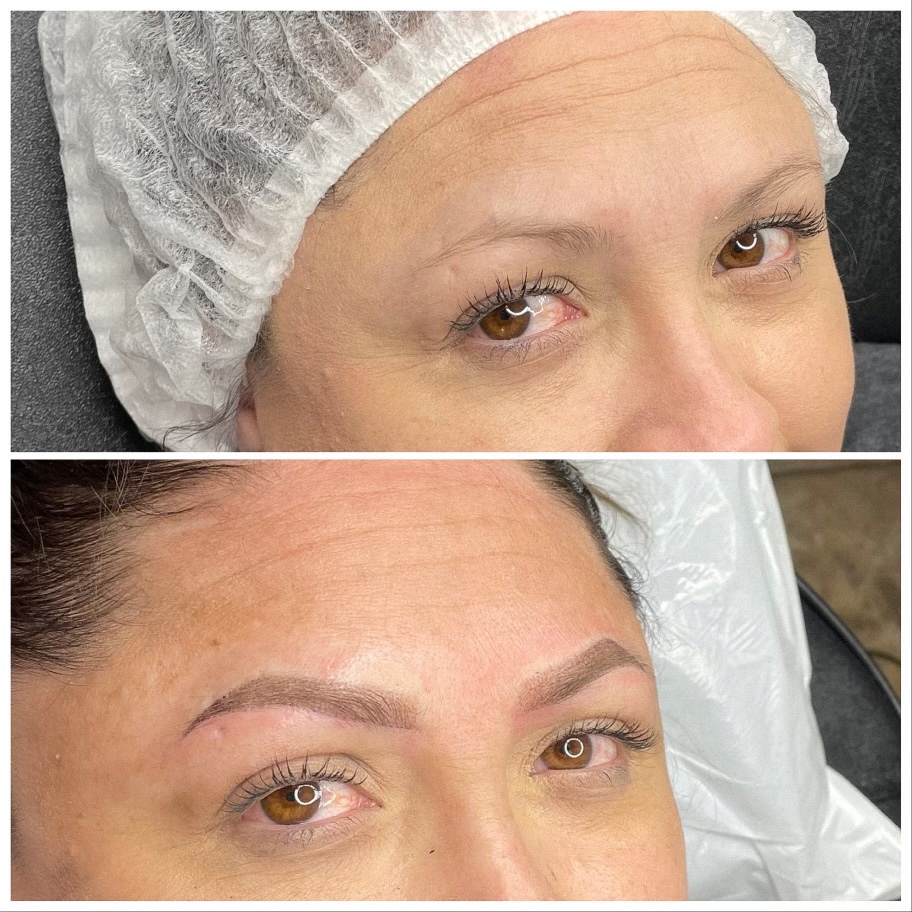
The healing process for microblading typically takes about 2-4 weeks, during which time the pigment will soften and settle into its final color. Initially, your brows may appear darker than expected, but they will gradually fade to a more natural shade. Once fully healed, your microbladed brows should look full, defined, and natural.
To maintain the vibrancy of your microbladed brows, it’s important to schedule touch-up appointments as needed. Most clients require a touch-up about 6-8 weeks after the initial procedure to perfect any areas that may have faded unevenly. After that, touch-ups may be needed every 1-2 years to refresh the color and shape of your brows.
Conclusion
Microblading is a fantastic option for those looking to enhance the appearance of their eyebrows with a long-lasting, natural-looking solution. By following the right preparation and aftercare guidelines, you can ensure that your microblading session delivers the best possible results. If you’re ready to achieve fuller, more defined brows, consult with a skilled artist like Amy Alfaro at Dark Heart Ink to discuss your options and schedule your microblading session.

